Jessica posts beautiful, colorful, nature-filled photos on Instagram as vanillalemoncake and started the inspiring hashtag #natureflatlays. Her pictures always make me smile when they pop up in my feed!
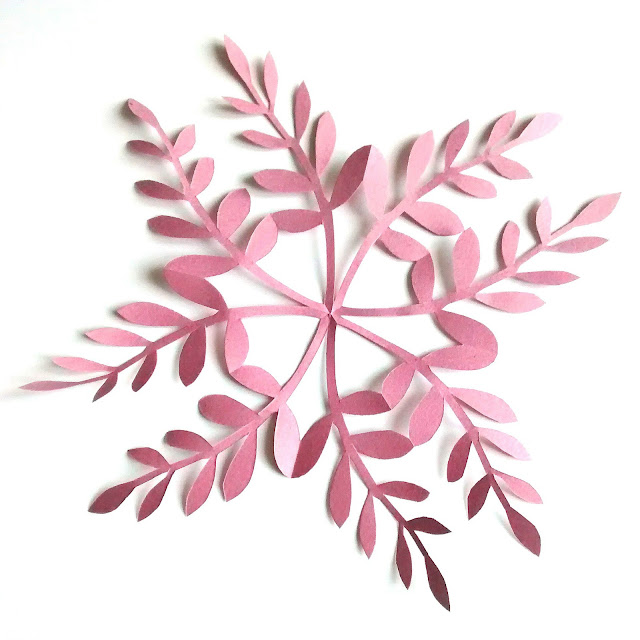
She shared a tutorial a few years ago for making these gorgeous leafy paper snowflakes and has kindly agreed that I can repost it here on my blog to share the leafy snowflakey goodness with you all (hurrah!).
I adore these snowflakes. They're a perfect blend of autumn and winter: a quirky alternative to a leaf garland, a leafy twist on the classic paper snowflake (you know I love those), and ideal decor for chilly autumn days or those early weeks of winter when the last few leaves are still hanging onto the trees.
To make a leafy paper snowflake, you will need:
- A square of paper (cut from a sheet of A4)
- Scissors
- A ruler
- And a pen or pencil
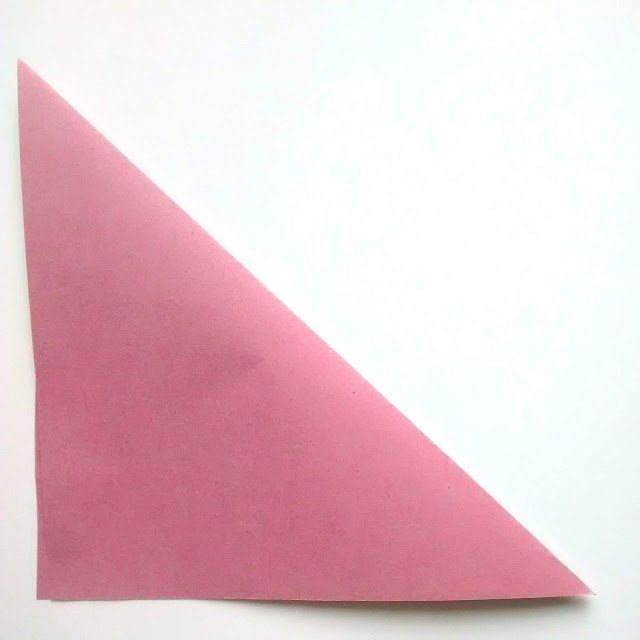
1. Fold the paper in half by bringing opposite corners of the square together. Run the ruler along every fold you make, to ensure crisp edges.
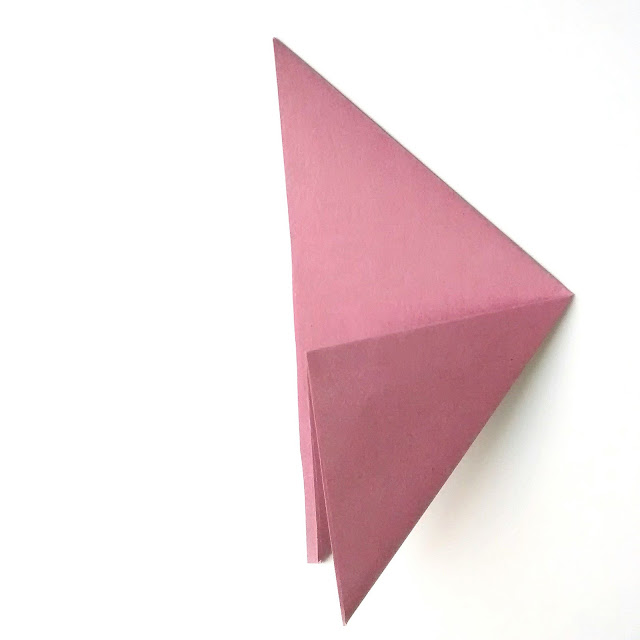
2. With the folded triangle facing you, as shown above, fold it in half again by taking the bottom right corner up to meet the top left corner.
3. You will now have two flaps of paper at top left (see above). Take the top flap and fold it down towards the bottom, so the corners meet.
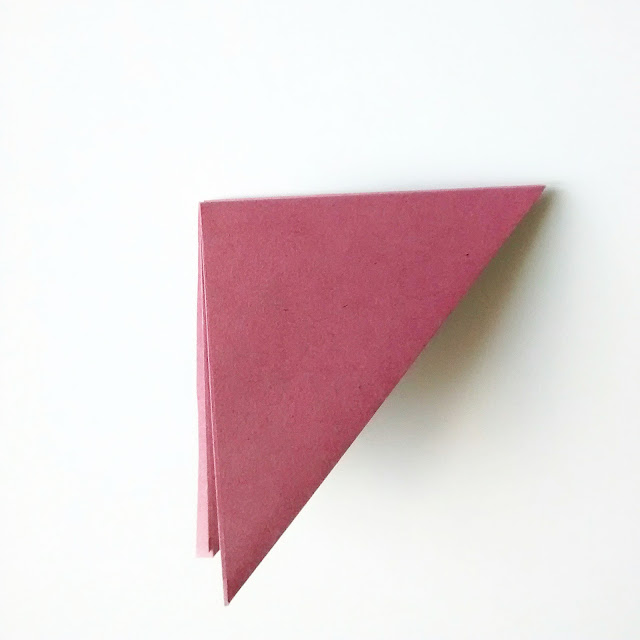
4. Pick up the shape you've made, and fold the second flap down behind to meet the bottom corner. You now have your folded shape.
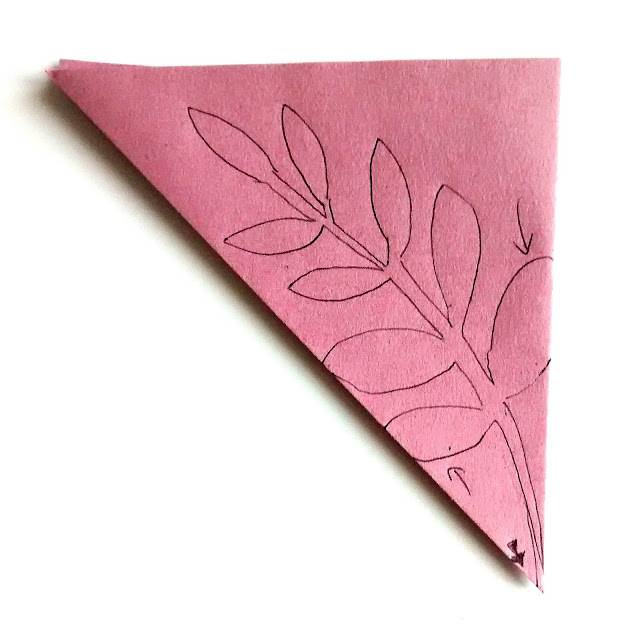
5. Turn the triangle round so that the folded point is towards you, the two folded edges of the triangle either side, and the unfolded edges of paper away from you.
Draw a leaf outline onto the triangle - use the photos in this tutorial as a guide, or get inspired by your favourite leaves!
The stem should grow from the point (see the filled arrow drawn on the paper, below). The leaf edge MUST incorporate part of the folded edge each side (see the arrows, below) otherwise the snowflake will not work. Give your stem enough width to avoid it being too fragile.
When you cut, take care to not cut along the folded edges within your leaf design.
6. Time to cut out the leaves! Hold the folds together firmly as you go, to ensure you cut all the layers identically. Cut along the leaf outline. Make sure you don't cut the parts that touch the folded edges.
7. Now very carefully unfold your leaf. Each leaf should be joined to its neighbours along that folded edge you left intact. Congratulations... you just made your first leafy paper snowflake!
Click here to visit vanillalemoncake on Instagram, see all of Jessica's lovely photos and meet Oliver the hamster!
-----
Visit my shop to buy my printable PDF sewing patterns:






2 comments:
They are so pretty and the colored paper gives them extra pizzas! I hate to confess but something always goes wrong with my paper snowflakes. However, I'm going to try this with the grand kids and it's not limited to Christmas :)
Hope these don't go wrong for you! :)
Post a Comment